
|
71 Ranchero Wiring Diagram |
Post Reply 
|
| Author | |
Bretticuss 
New Member 

Joined: 10-July-2025 Location: NW Florida Status: Offline Points: 39 |
 Post Options Post Options
") Thanks(0) Thanks(0)
 Quote Reply Quote Reply
 Topic: 71 Ranchero Wiring Diagram Topic: 71 Ranchero Wiring DiagramPosted: 21-July-2025 at 1:06PM |
|
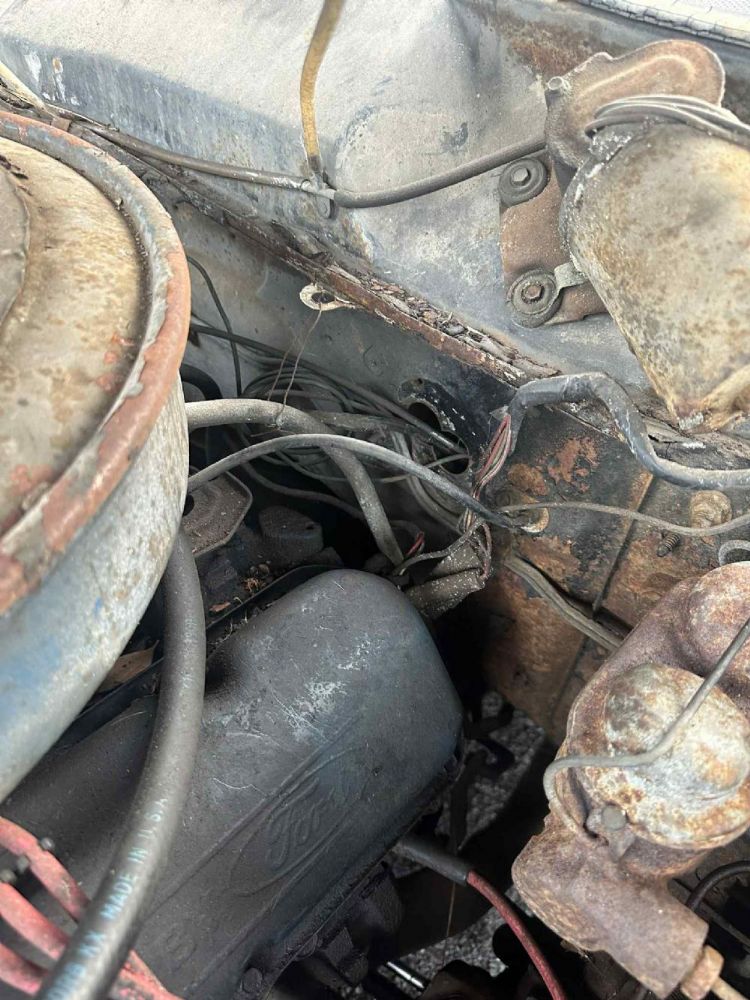
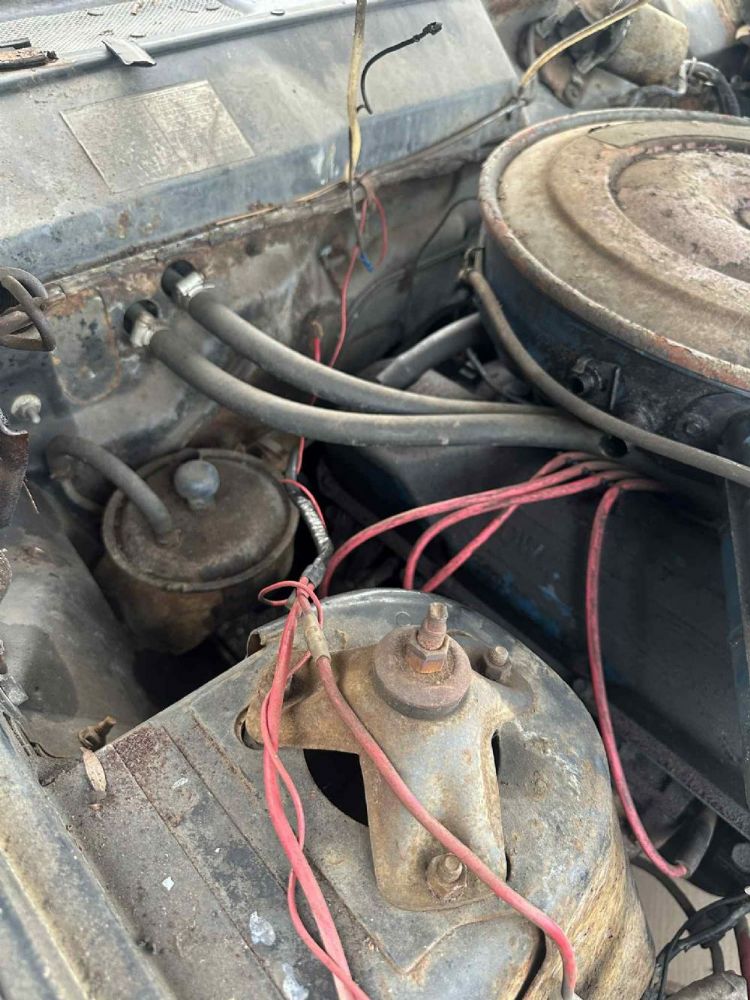
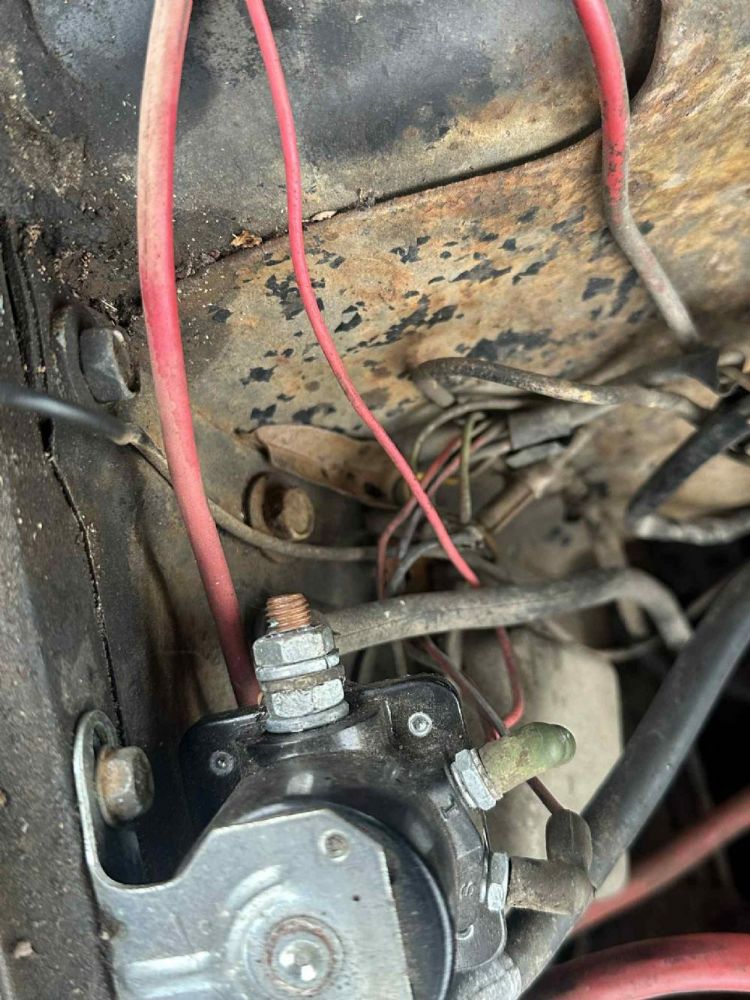
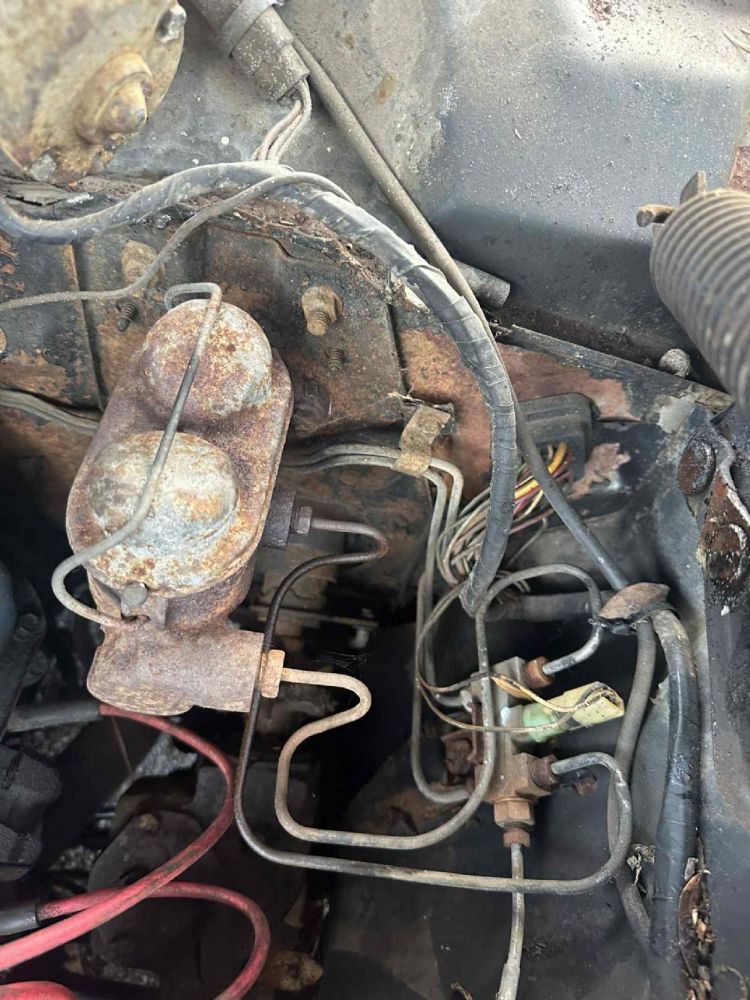
Hello, does anyone have a wiring diagram for a 71 Ranchero? I am having an issue where when I put in a fully charged battery, I only get very dim headlights and tail lights. Trying to make sense of what all is going on here under the hood and these under the dash.
|
|
 |
|
|
72 RS 351
Senior Member 

Joined: 04-September-2014 Location: Knoxville TN Status: Offline Points: 3443 |
Post Options
Thanks(0)
Quote Reply
Posted: 21-July-2025 at 1:19PM |
|
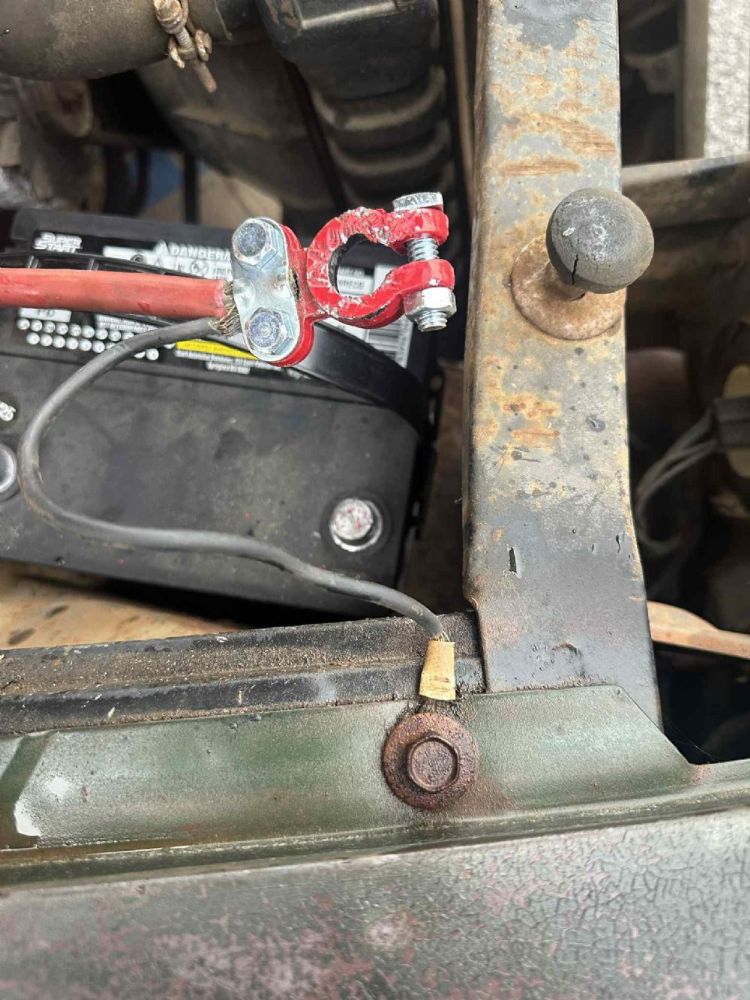
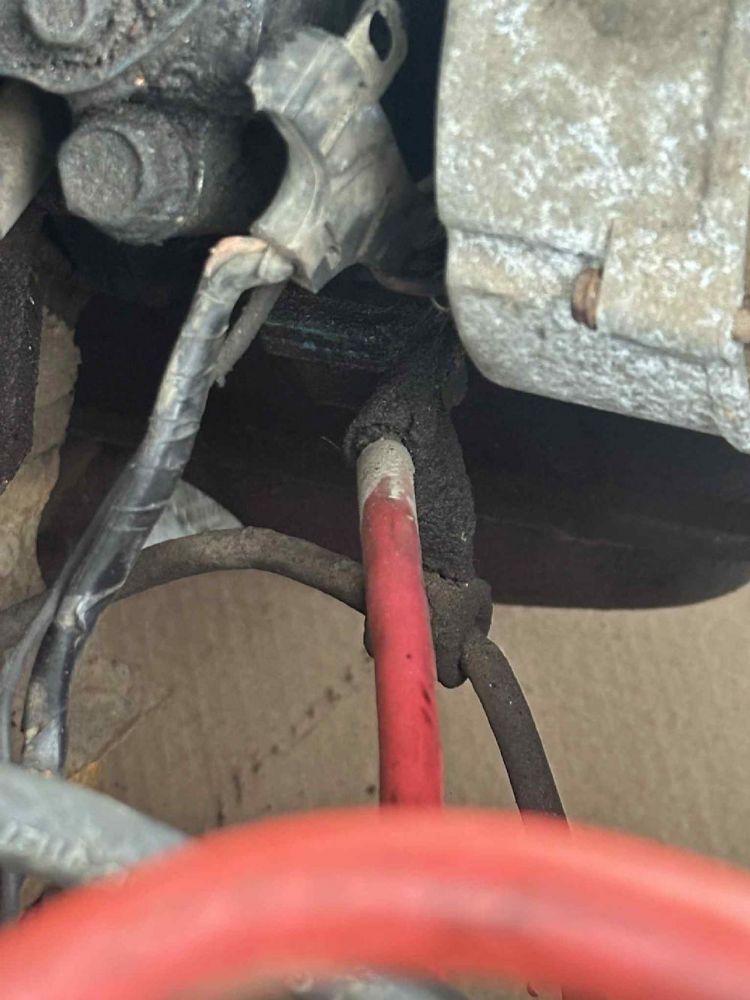
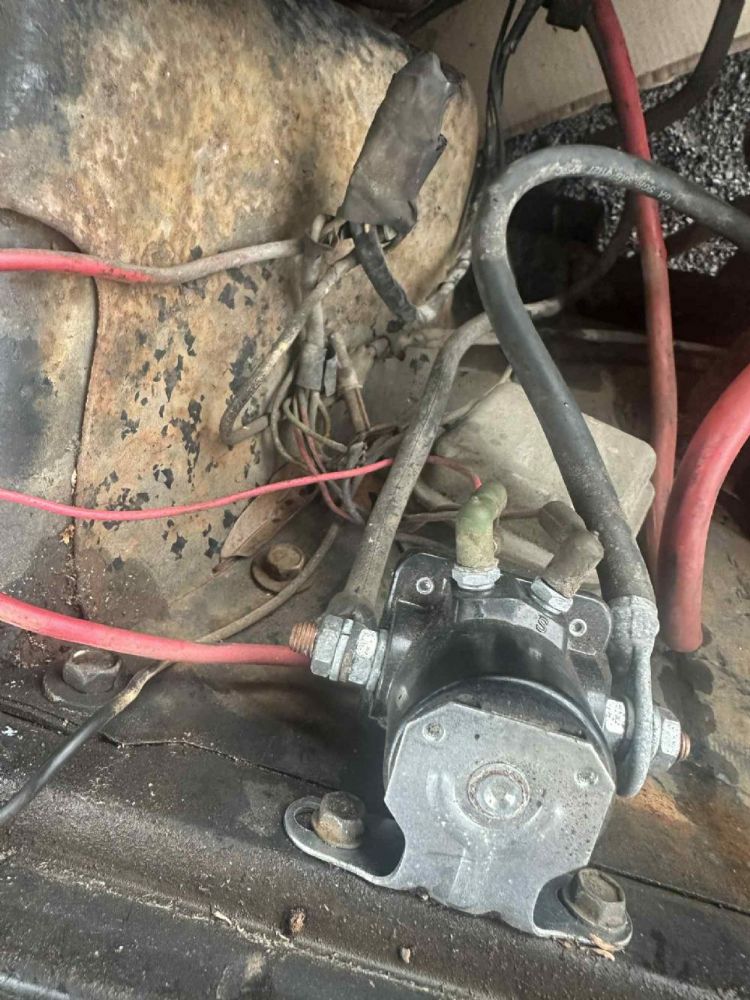
Please go at that carefully. There is a lot there which is altered and poorly done, left for the next guy. Check slowly as many of the main power and ground connections as you can. Check for voltages constantly as you check around. Try to remove, cut out, as much of any obvious bad or unneeded wiring as possible. You need to straighten up the wiring, replace the bad connections or connectors. That battery terminal should be tossed, those are poor and should be temporary only until you can install a much better type. Find those which require a large crimping tool to attach to a good cable. Old cable often have corrosion inside of them. So check for voltage and resistance of all the major wires, such as battery cables. I'd expect to have to replace some of those. The lights are likely dim due to too much resistance in the main wires and connectors, plus some wires and fusible links. If the fusible links have been cut out, you need to replace them with proper fuses or fusible links. Good luck,
|
|
|
Don
73 Ranchero "Sport 72 front end", floor shift/console, planning EFI 7000 rpm 351 stroker 73 Ranchero GT 351C-4V &4R70W for sale later. 92 Lincoln Mark VII SE GTC, OBDII 347/4R70W |
|
|
|
|
Bretticuss
New Member
Joined: 10-July-2025 Location: NW Florida Status: Offline Points: 39 |
Post Options
Thanks(0)
Quote Reply
Posted: 21-July-2025 at 1:28PM |
|
Getting new battery cables is top of my list.
I’m looking for a good detailed wiring diagram so I know where to begin, don’t want to accidentally remove some wiring that I shouldn’t.
|
|
|
|
|
Rockatansky
Senior Member
Joined: 30-July-2010 Location: On The Road Status: Offline Points: 6398 |
Post Options
Thanks(0)
Quote Reply
Posted: 21-July-2025 at 3:23PM |
|
behind the alternator, the metal tab sticking out of the plastic block is supposed to be secured to a stud on the back of the alternator. it might be a necessary ground i forget ATM the 'temporary repair' battery terminal looks like the best thing you've got going red on the ground side can make things confusing
|
|
|
72 GT Ute
|
|
|
|
|
72 RS 351
Senior Member
Joined: 04-September-2014 Location: Knoxville TN Status: Offline Points: 3443 |
Post Options
Thanks(0)
Quote Reply
Posted: 22-July-2025 at 2:19AM |
|
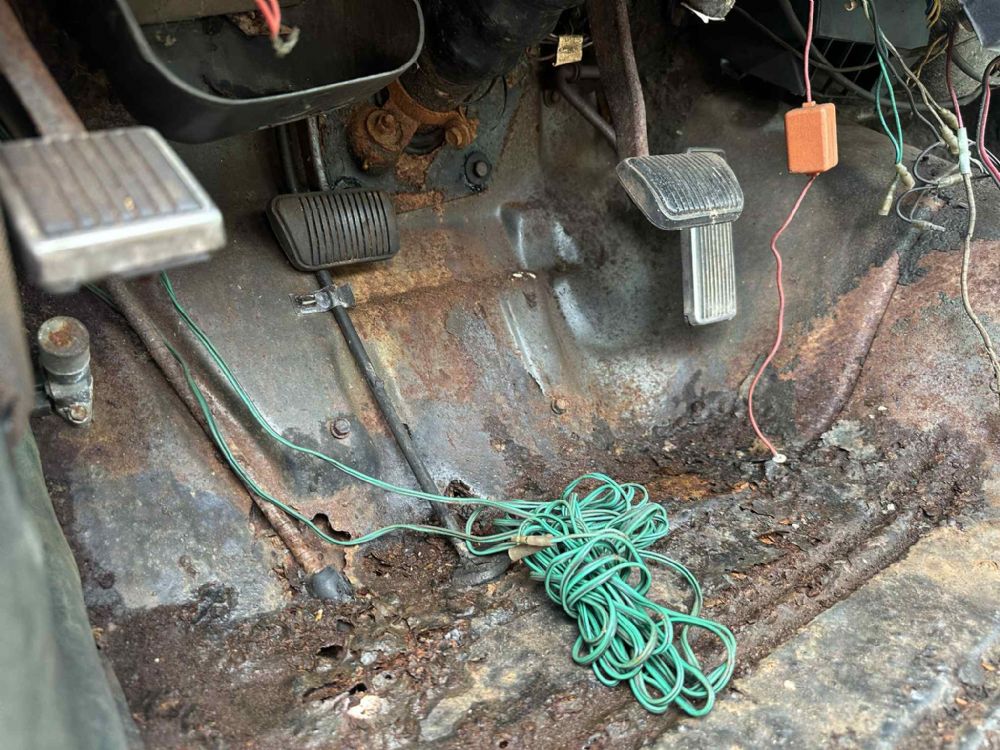
There's enough wrong there in the wiring that you will be at it for a long time. That's why I wrote go slow and carefully. Keep cleaning things and looking it over, slowly you will get an idea of which wires are OEM colors and which are not. I don't mean to say cut anything not stock, but some things like home wiring don't belong, and the speaker wire seen there could be tossed immediately. You should try to preserve as much of the OEM wiring as possible, that might all be useful later. The aftermarket speaker wire is low cost and you don't know how old or bad anything is. Fortunately the OEM wiring is not very complicated or difficult to trace etc. You could manage with many different wiring diagrams of similar cars if needed. The basic systems will almost all be very alike between car models. The wiring colors will be the same or very close, which also means you should be able to locate both some old wiring, and some brand new from aftermarket sources. The actual work may require a few tools to make electrical connections etc, so so learn as you go what it's going to take.
|
|
|
Don
73 Ranchero "Sport 72 front end", floor shift/console, planning EFI 7000 rpm 351 stroker 73 Ranchero GT 351C-4V &4R70W for sale later. 92 Lincoln Mark VII SE GTC, OBDII 347/4R70W |
|
|
|
|
72FordGTS
Admin Group 
GTS.org Admin Joined: 06-September-2005 Location: Ontario, Canada Status: Offline Points: 6780 |
Post Options
Thanks(1)
Quote Reply
Posted: 22-July-2025 at 2:40PM |
|
We have a 1970 wiring diagram, which should be close enough to help you get things sorted:
|
|
|
Vince
1972 Ford GTS Sportsroof - Survivor, One Family car GTS.org Admin |
|
|
|
|
Bretticuss
New Member
Joined: 10-July-2025 Location: NW Florida Status: Offline Points: 39 |
Post Options
Thanks(0)
Quote Reply
Posted: 23-July-2025 at 2:57PM |
|
Gotcha, thanks!
|
|
|
|
|
Bretticuss
New Member
Joined: 10-July-2025 Location: NW Florida Status: Offline Points: 39 |
Post Options
Thanks(0)
Quote Reply
Posted: 23-July-2025 at 2:57PM |
|
Honestly thinking of just getting a new wiring harness and going that route.
|
|
|
|
|
Post Reply
|
|
| Tweet |
| Forum Jump | Forum Permissions You cannot post new topics in this forum You cannot reply to topics in this forum You cannot delete your posts in this forum You cannot edit your posts in this forum You cannot create polls in this forum You cannot vote in polls in this forum |


 Topic Options